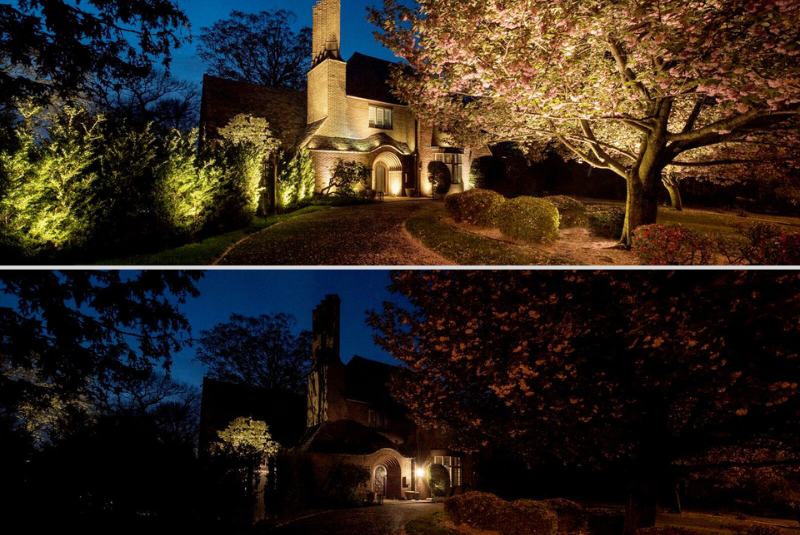
It is often said that a photo is worth a thousand words, but many contractors overlook the benefits that a photo can provide when they are busy on a job. Customers often rely on their initial impression of a contractor before deciding whether or not to conduct business with them. Due to the internet, an initial impression is often made well before you even have a chance to meet with a potential customer face-to-face. This makes it crucial to take advantage of every opportunity to enhance your online presence. High quality photos, and specifically before and after photos are a great way to demonstrate the high-quality level of work that you provide. The Fall season provides a unique time to utilize these.
The Before/After Advantage
After photos are much more powerful when they are accompanied by Before photos. This helps provide a reference point of where the project started. It is also a great way to highlight the amount of work that went into completing the project. To emphasize this even more, take some photos at different stages within the build process so you can show customers each major step you take.
The combination of Before, During, and After photos lets you create a visual story for each project. During the Fall, these photo varieties should focus more on services relevant to the season. Whether it is overseeding, snow maintenance, holiday lighting, or another service your customers should be thinking about, it is vital to ensure it aligns strategically with the season.
To follow best practices, take photos well before you even begin working on a project. One of the best opportunities to capture great Before photos is during an initial survey of a property with the customer. This lets you capture photos of the property in its raw, beginning stage, and can be a helpful reference when putting together a quote. The stark contrast between a lawn cluttered with dead leaves, and one that is clean and neat, further demonstrates your crews quality of work.
Photos are a great tool that you can use to build your reputation with a potential customer or protect your business. Below are four different ways to utilize these photos.
- Showing a Customer During The Sales Process- Visually and verbally walk through the project you took photos of. Be sure to detail how it applies to the customer you are speaking to, and how it may be different. This may mean using printed materials that you can leave with the consumer.
- On Your Website- Use the website to tell the story behind that project. Instead of “new outdoor lighting installed”, you can say “Joe and Alice wanted to enhance how their property looked, deter potential intruders, and create a space where their family could relax outside at night”. Then you can talk about the products you suggested, and the process you undertook.
- On Social Media- While you may not be able to include all the content you create for your website, you can still use social media to highlight the work you do. The beautiful colors of the autumn leaves create excellent and unique images that you can utilize year-round. Be sure to link to the gallery page on your site that tells the full story. These before & after photos can help generate interest for your business.
- To Protect Your Business- These photos also provide documentation. Store these photos in case there are misunderstandings with the customer in the future or there is existing damage .
But how I take these photos? We’ve got you covered!
Follow these tips to take the perfect Before & After photos
- Take the photos from the same angle, and standing in the same location. This will provide a more direct comparison.
- Play with different lighting options or times of day.
- Be mindful of falling leaves. Depending on the circumstance it can add a pop of color, or detract from the quality of your work.
- Take more than one photo to maximize your choices when you end up utilizing these photos.
- Clear out all the materials you used while performing the service. Show your customers the cleanest images possible.
- Enable the photo guides in your camera settings! These guides are visual aids that can be used to line up your subject. Adding in grid lines while you capture the photo can ensure that the photo is level and in focus.
You now have everything you need to capture amazing before & after photos, and use them to grow your business and build your reputation this fall!
Finally
Whether it’s marketing support, website audits, or design support, Central is the right partner for your business. Our highly experienced Marketing team has decades of experience to help you identify best-practices and implement initiatives that deliver results. You can even use Central Reward Points for purchasing cameras, drones, or other equipment to help in your photography efforts.We’re ready to help you grow!

