Over the past few months, we’ve connected with Glen Nyhuis, Central’s National Lighting Director, on what you need to know about lighting. We spent some time getting Back to Basics on the technical side to make sure that your lighting installations were back on track for the season. And, we’ve discussed 3 ways to grow your sales with lighting design. Now, we’re going to look at some more advanced concepts when it comes to lighting design and installation. We connected with Glen again to share his insight on advanced installation techniques, hiding wires. and more.
From Glen:
Landscape lighting is on the rise and more and more landscape businesses are getting involved in installing. This is great news! An expanded service portfolio means more opportunities for sales and profits for your business. Beyond that, landscape lighting is a smart service offering to add to your business because of its solid profit margins, residual maintenance sales, and the ability to upgrade/upsell over time.
Issues with landscape lighting can arise when contractors are not being trained properly, are not thinking outside the box, or simply taking shortcuts. Most installations are fairly cut and dry but it’s vital that you take the steps to ensure the final product is in fact complete.
My old friend Nate Mullen would say, “lighting is like painting a portrait. Don’t leave a painting half done.” What does that mean? It means there are opportunities to a lighting installation beyond traditional up lights and path lights. Consider using Kelvins and temperatures just like an artist uses color and don’t forget to add the wi-fi controller. Next, it’s important to think about all areas of the “canvas”. What does this mean? Use enough fixtures to cover all of the areas of the property, look up and add lighting to the second story. This gives a wow factor to the property. Finally, clean up is important or you will ruin your “painting”. This means you need to make sure that you are hiding wires properly. This not only makes the final product look great but it will ensure fewer call backs.
Kelvin Temperatures
Consumers want to differentiate themselves from their neighbors’ homes. You can help them do this by selecting the right temperature for the various features of the property. As a rule of thumb, warmer color temperatures are used on architectural elements (between 2500k-2700k) and slightly cooler temperatures are used on plant material in a landscape (generally 3000k-4000k). The best color temperature for your outdoor lighting is really a matter of choice. And the best choice is the one that creates the effect you want.
Don’t Leave Black Holes
As I mentioned, too many contractors are leaving black holes in their designs. The most common areas missed or incomplete is actually the home itself. The home is the most important focal point on the property and more often than not, we’re forgetting to light it! The good news is, most anyone can light a conventional home ground up sing the framing method.
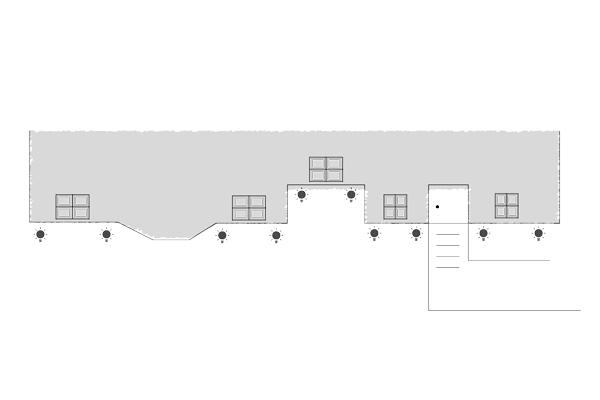
So, what is the framing method? This is a simple method for placing lights. Commonly, lights are placed on all corners, in coves, and between windows. See the example below:
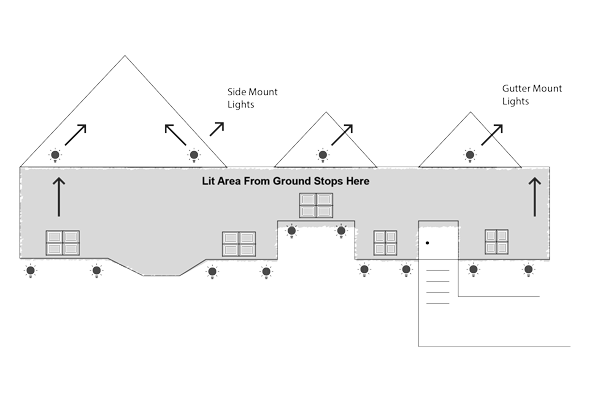
This is a great starting point but what happened to the second level of the house? It seems that the second level is always forgotten. Dormers, peaks, rooflines, upper soffits, and chimneys should be illuminated. If these areas are not attended to and lit, your customer’s two-story house looks like a single-story ranch. See where you should be lighting on the second story:
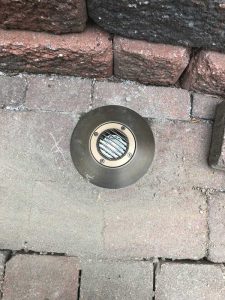
Now that you see all the areas that you can light on the home, what are some other areas that are often forgotten? Patios, driveways, blue stone, and decks to name a few. When designing a lighting installation, it’s important to look beyond just pathways and trees and call out other features.
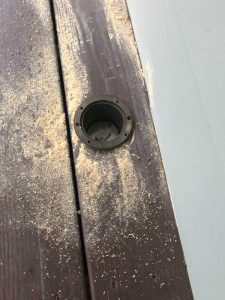
When installing lighting on areas like a patios/deck or in blue stone can be nerve racking. There is an old saying, “if there is a will, there is a way.” This applies to landscape lighting as well. With a little extra effort, a fixture can be properly attached or core drilled on patios/decks or in stone. If you are unfamiliar processes such as core drilling, Central offers small group or one-on-one training to help with you with your installations. With proper training, you’ll be a veteran in no time.
Hide the Wires
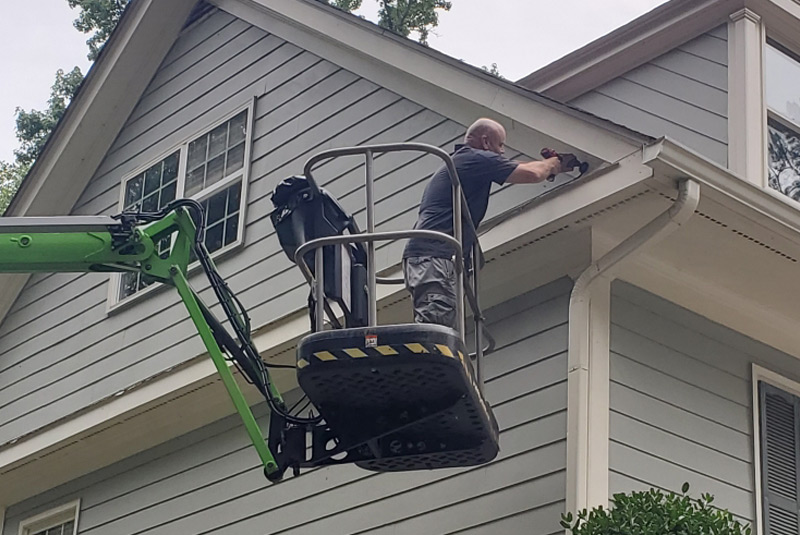
The last piece is making sure to hide the wires. This gives the final job a polished look. The key for hiding wires is using the existing gutters, soffits, siding and roof lines. See examples below:
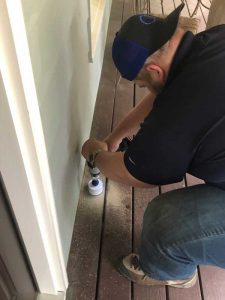
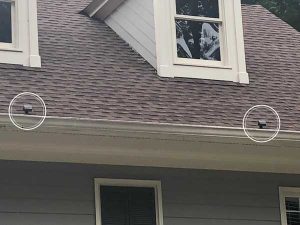
Funny enough, hiding wires is usually the most common fear for installers. If you have questions or need additional training for hiding wires, let us know and we can help. We want to give you the confidence to tackle second stories on every job.
The end result of lighting more difficult and time-consuming areas is a win-win. When you finish your “painting,” you have a beautifully light property and a happy customer. Better yet, the final product is elevated and has allowed you to sell more fixtures and charge more money for the job. When you install with confidence, it breeds knowledge, and knowledge breeds results.
Let a Central expert help you become a more knowledgeable and confident landscape installer. Rely on us to help, whether that’s getting you Back to Basic, helping with a lighting demo or installations, or sharing insight and recommendations on the newest technologies or design styles. We stay at the leading edge of the industry and we’re ready to help you grow!
About Glen Nyhuis

Glen Nyhuis has nearly three decades in the landscape lighting business. He has worked both in the field installing and design landscape lighting, as well as on the distribution side. Beyond that, he has spent many years teaching and working with contractors on how to sell lighting to their customers. Whether it’s a technical or design question, or helping source the right product for a special job, Glen is ready to help you make money and grow your business.

